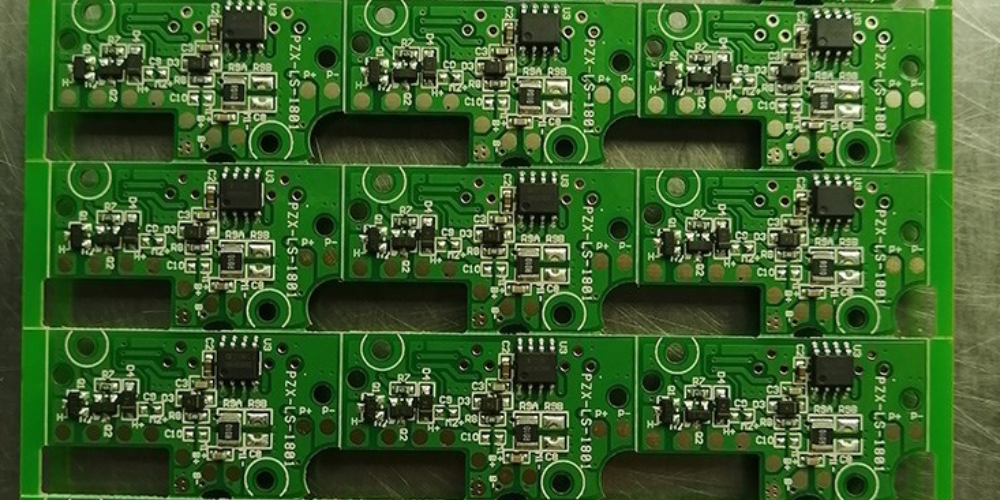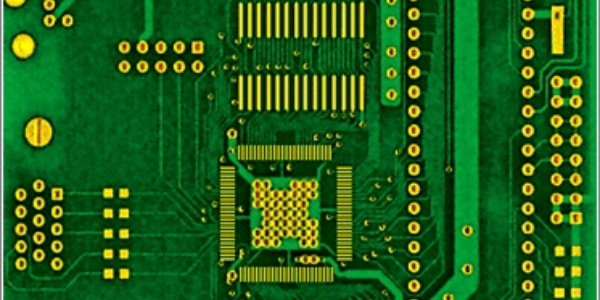
PCBA aging test practices
In order to ensure the stability and use reliability of PCBA products, after the PCBA processing is completed, it is best to conduct a sampling of aging test, the main purpose of aging test is to simulate the daily use environment of the product through a combination of high temperature, low temperature, high and low temperature changes and electrical power to expose the defects of the PCBA, such as poor welding, mismatch of component parameters, and debugging process caused by In order to eliminate and improve the failure, the PCBA board without defects will play a role in stabilizing the parameters.
PCBA aging test has 3 standards, according to these 3 standards to do, the general problems can be found.
1, low temperature work: PCBA board will be placed in the temperature of -10 ± 3 ℃ for 1h, in this condition, should be with rated load, 187V and 253V conditions, power on all programs to run, the program should be correct.
2, high temperature work: the PCBA board will be placed at 80 ± 3 ℃ / h after the condition, with load, 187V and 253V conditions, power on all programs to run, the program should be correct.
3, high temperature and high humidity work: PCBA board will be placed in the temperature 65 ± 3 ℃, humidity 90-95% conditions, time 48h, with rated load power on to run all programs, each program should be correct.
The specific practices of PCBA aging test are:
1、Put the PCBA board under ambient temperature into the thermal aging equipment under the same temperature, and the PCBA board is in running state.
2、Lower the temperature inside the equipment to the specified rate to the specified temperature value, when the temperature inside the equipment reaches stability, the PCBA board should be exposed to low temperature conditions to maintain 2h.
3、Raise the temperature inside the device to the specified temperature at a specified rate, and when the temperature inside the device reaches stability, the PCBA board should be exposed to high temperature conditions for 2h.
4、Lower the temperature in the equipment to room temperature at a specified rate, repeat continuously until the specified aging time, and measure and record the PCBA board once according to the specified aging time.
PCBA board after the above process aging test, you can rest assured that bold delivery to customers, the benefits of doing so is that customers are assured that the return rate is extremely low, and the quality is more stable.